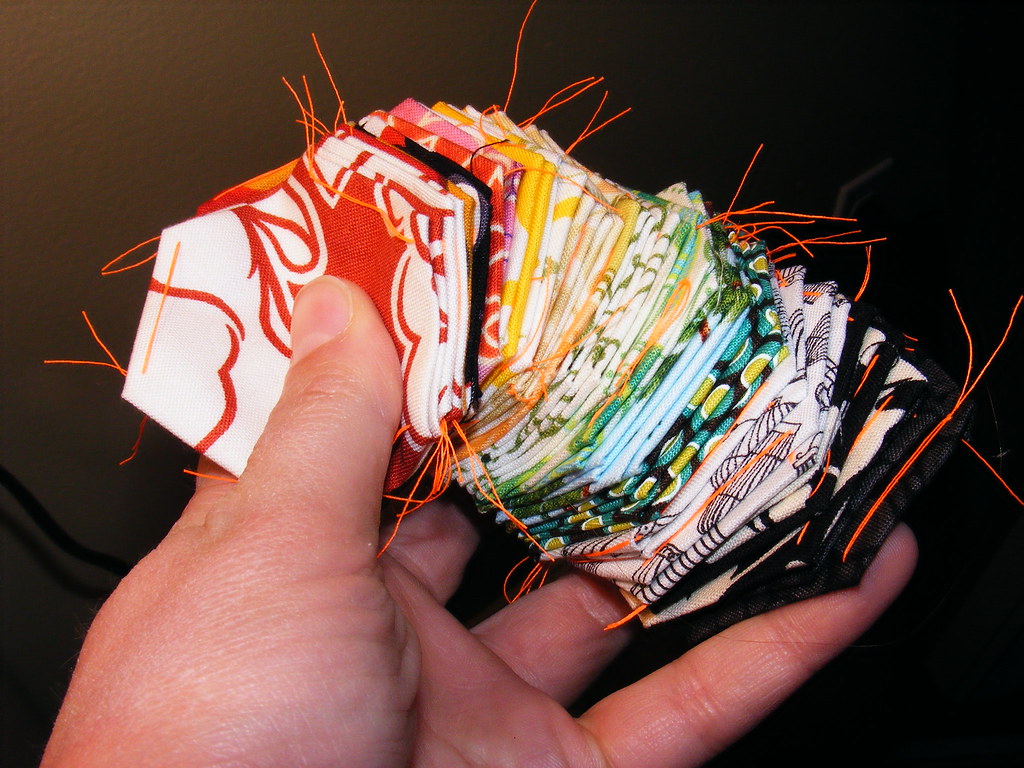
 |
| My First Batch |
Tuesday, November 30, 2010
It's been a while...

Tuesday, November 23, 2010
I made a pencil case!
I think it turned out rather well.

A couple of weeks ago I wanted another pencil case to cary writing utensils and whatnot around in my purse. It's a large-ish purse, and things can get lost in it. It is also an awesome purse, and I don't want it getting marked up by my pens and pencils and whatnot. Hence, the search for a new pencil case began!
Here is my rubric for grading potential cases:
Size: small case > large case
Shape: square = round > flat
Pattern: cute > ugly
My etsy search helped me figure out exactly what I wanted.
These two cases earned the highest grades:
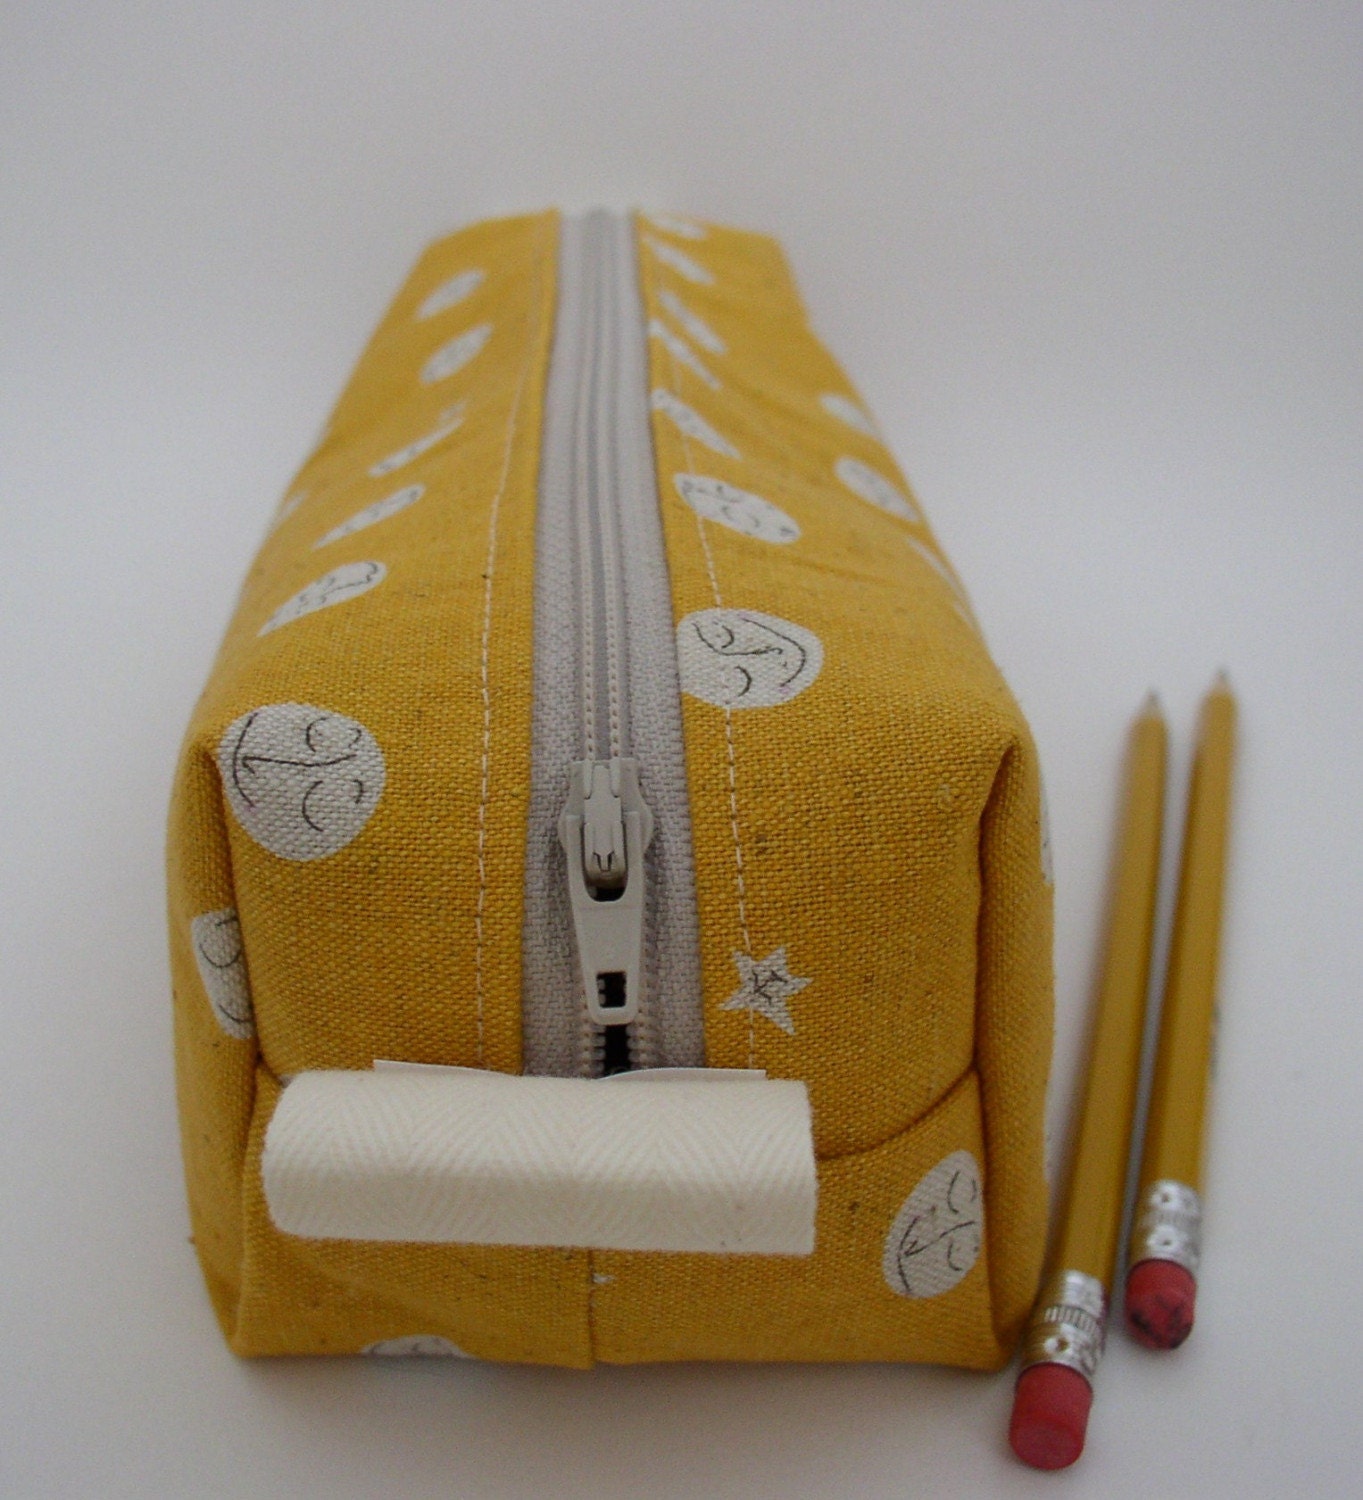
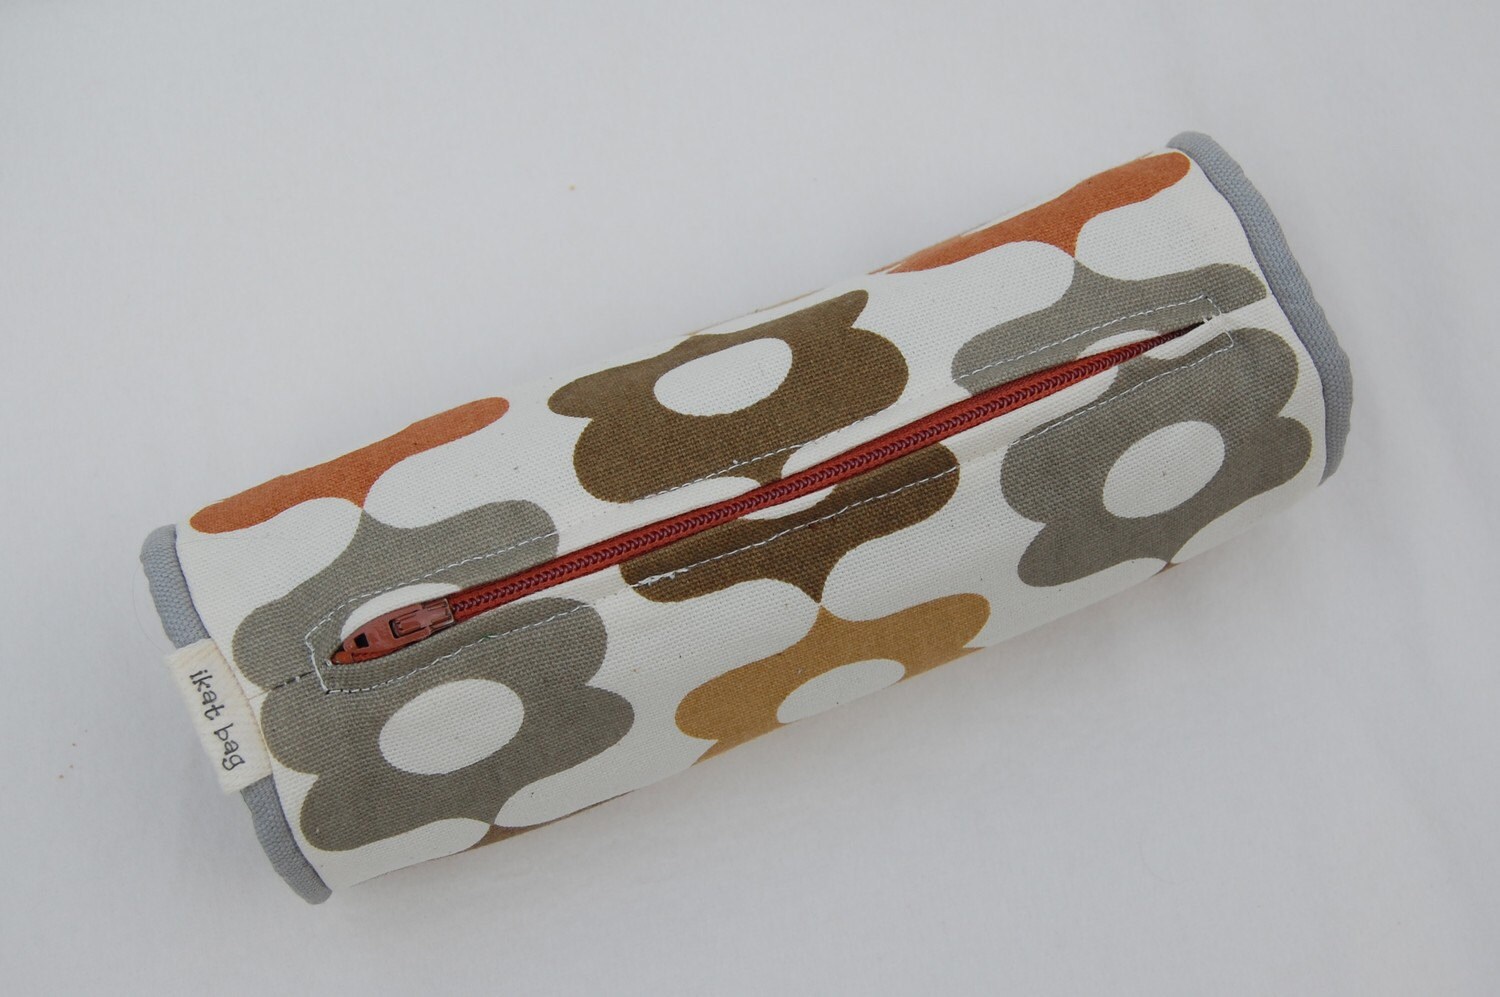
I found great tutorials for both of these designs too!
I ended up going with the boxy design because it required less detail work (I am new at this, after all) and required buying one thing less. So I picked out my fabrics last night while I was sorting everything and putting together my scrap packs.
All in all, it took me about an hour and a half to make from start to finish. I got to work with interfacing for the first time, I learned what a zipper foot for a sewing machine is, and I successfully slip stitched! Except for one flaw, it turned out just the way it was supposed to.
 |
| the right end |
 |
| the wrong end |
Extras
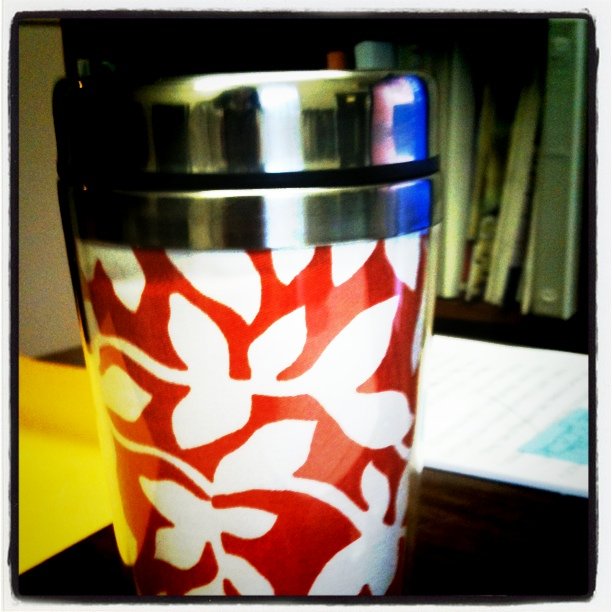
Until yesterday!
I don't know where my travel mugs are, so I got another one at Kohl's (50% off! yeah!). I love this style of mug, but that image on the insert? bleh.
Since the mug was was already customizable, I just pulled out both layers (the 'friends are awesome' one and the throw-away one with the generic friends) and used one as a template for cutting my fabric. The fabric is thicker and stiffer than most, so it stands up (literally) inside the mug.
I love the contrast of the metal rings and the softness of the fabric inside. And the colors are awesome too! Yay for extra fabric!
I'm tempted to go back to Kohl's and get a lot more to customize and sell (on my new etsy store, which is admittedly rather blah right now). But I'm worried about copyright and legal issues. Any advice on that front?
Sunday, November 21, 2010
Step 6: Make HOW MANY hexagons?!
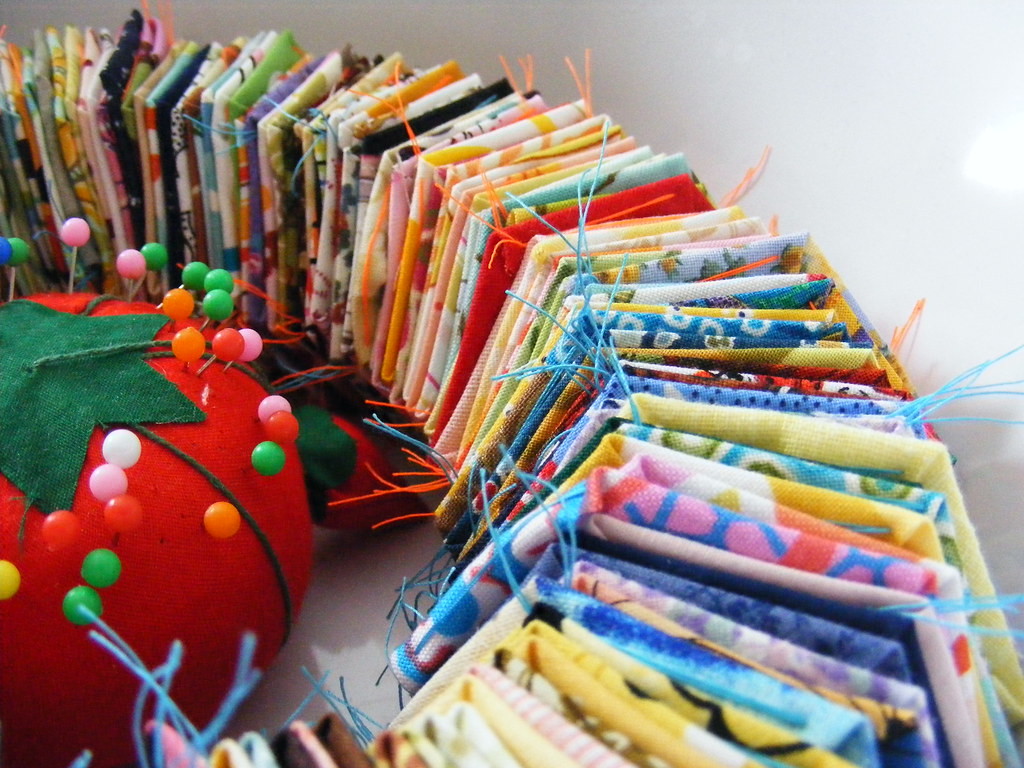
I have now made 248 hexagons.
I have them all lined up in a large bowl for Halloween Candy. (I like the monsters on it, so I'm OK with using this bowl for the foreseeable future to hold my work in progress.) They look rather substantial in there, all squeezed into a ring. Two hundred and forty-eight hexagons. And soon, I'll have 325. That's something for a month of on-and-off quilting!
Care to guess how many hexagons I need for my quilt?
Nope, more than that.
According to this VERY useful calculator, I need 1165 hexagons to make a quilt for my Queen size bed. And that's just for the quilt TOP. If I wanted to make the whole thing out of hexagons (top + the sides that drape down the bed), I'd need 2094.
Now that I have purchased/traded enough fabric to cut out 325 squares of different(ish) fabric, and now that I have made more than 200 hexagons, I have a better idea of the process and what the finished quilt might look like. And I've been thinking about how it would make my room look if I used it as a bedspread type quilt. I am confident that I will like the final product, but not confident that I will want it to be the focal point of my bedroom. Because that's what it would be, right? All spread out flat on my large bed in a (presumably) not so large room?
So for the sake of my wallet, my lower back (fabric cutting marathon = owie!), and the actual use I expect to get out of the finished quilt, I have decided to change my plan slightly. My goal is no longer to make a quilt for my bed out of this project. I now aim to make a throw-blanket-type-quilt. The kind you would drape on the back of a couch when you're not snuggled up in it on a rainy Fall afternoon. The kind that might have matching pillows (another project!). And the kind that would only take 745 hexagons to make.
I feel good about this decision. I can't wait to see how the change ups my percentages in the progress bars on my blog!
 |
| Ta daa! |
Care to guess how many hexagons I need for my quilt?
Nope, more than that.
According to this VERY useful calculator, I need 1165 hexagons to make a quilt for my Queen size bed. And that's just for the quilt TOP. If I wanted to make the whole thing out of hexagons (top + the sides that drape down the bed), I'd need 2094.
Now that I have purchased/traded enough fabric to cut out 325 squares of different(ish) fabric, and now that I have made more than 200 hexagons, I have a better idea of the process and what the finished quilt might look like. And I've been thinking about how it would make my room look if I used it as a bedspread type quilt. I am confident that I will like the final product, but not confident that I will want it to be the focal point of my bedroom. Because that's what it would be, right? All spread out flat on my large bed in a (presumably) not so large room?
So for the sake of my wallet, my lower back (fabric cutting marathon = owie!), and the actual use I expect to get out of the finished quilt, I have decided to change my plan slightly. My goal is no longer to make a quilt for my bed out of this project. I now aim to make a throw-blanket-type-quilt. The kind you would drape on the back of a couch when you're not snuggled up in it on a rainy Fall afternoon. The kind that might have matching pillows (another project!). And the kind that would only take 745 hexagons to make.
I feel good about this decision. I can't wait to see how the change ups my percentages in the progress bars on my blog!
Wednesday, November 17, 2010
Step 5: Travel kit
If I'm going to finish any time in the next decade, I need to be able to treat hex-making like I treated my homework in elementary school.
Do a little here and there and you don't have any to do at home.
No wait.
I'll still have more to do at home. But I do need to be able to work on my quilt when work is slow at my one job, or when my students are taking a test at my other job, or when my tutoree is taking a long time to work thorught a problem.
So I made a travel kit. One of the blogger-ladies I found when I was doing my research talked about making a travel kit for a long airplane ride and family vacation. She took over 100 with her and made 90 on the flight to Hawaii. She hot-glued magnets to the side to hold the pins, and had fabric and paper hexagons and pins and thread and needles and a fancy little needle threader and everything!
I am not planning a trip to Hawaii any time soon, so mine didn't need to be as big. Just big enough to get me throught the down time at work. So I went to a home goods type store and got myself a little snap lock container and filled it up. I tried the hot glue thing, but the little snippers I have kept pulling it off. I gave up on the magnets actually sticking to the side.
But I love my little travel kit! It holds everything I need for a day out and fits quite well into my (admitedly large-ish) purse!
Ta da!

Do a little here and there and you don't have any to do at home.
No wait.
I'll still have more to do at home. But I do need to be able to work on my quilt when work is slow at my one job, or when my students are taking a test at my other job, or when my tutoree is taking a long time to work thorught a problem.
So I made a travel kit. One of the blogger-ladies I found when I was doing my research talked about making a travel kit for a long airplane ride and family vacation. She took over 100 with her and made 90 on the flight to Hawaii. She hot-glued magnets to the side to hold the pins, and had fabric and paper hexagons and pins and thread and needles and a fancy little needle threader and everything!
I am not planning a trip to Hawaii any time soon, so mine didn't need to be as big. Just big enough to get me throught the down time at work. So I went to a home goods type store and got myself a little snap lock container and filled it up. I tried the hot glue thing, but the little snippers I have kept pulling it off. I gave up on the magnets actually sticking to the side.
But I love my little travel kit! It holds everything I need for a day out and fits quite well into my (admitedly large-ish) purse!
Ta da!
Thursday, November 11, 2010
milestone! again!
200 hexagons!
200 useable hexagons!
I have runner's high right now! Except about hand crafted housewares!
200 useable hexagons!
I have runner's high right now! Except about hand crafted housewares!
Wednesday, November 10, 2010
Milestone!
Today I managed to get 36 hexagons basted at work. Then when I was tutoring, I did 5 more. And with that 41st hexagon of the day, I used up all the fabric in my carry case and my first spool fo thread!
So after work, I went back to the store and got three more spools.
So after work, I went back to the store and got three more spools.
Subscribe to:
Posts (Atom)